Flat tires can be really annoying and scary, so we broke it down the spare tire replacement process into 9 simple steps. Follow this guide, and you’ll be back on the road in no time!
Step 1: Find a Safe Location
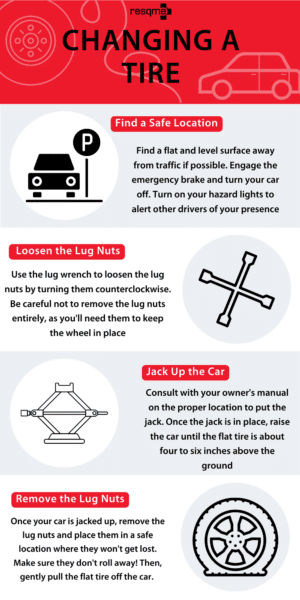
Before you begin changing your tire, make sure that you’re in a safe and secure location. Find a flat and level surface away from traffic if possible. Make sure your emergency brake(s) are engaged and your car is turned off, in the park position. Turn on your hazard lights to alert other drivers of your presence.
If you can’t pull off a busy stretch of highway or street, ask a capable passenger to look for oncoming cars that might not see you while you’re changing the tire.
Step 2: Get Your Tools
The tools you need to change a tire are a lug wrench, a jack, and of course a spare tire. You can find all these items in your car’s trunk or in some vehicles underneath the floorboards. Ensure that you’ve located them before you begin changing the tire. Finally, make sure the spare is inflated and has not gone flat while not in use. If the spare is flat do not use it.
Extra tip: Check your spare tire at least twice a year to ensure that it is still inflated. You never know when you are going to have to use it
Step 3: Loosen the Lug Nuts
Use the lug wrench to loosen the lug nuts by turning them counterclockwise. Be careful not to remove the lug nuts entirely, as you will need them to keep the wheel in place.
Step 4: Jack Up the Car
Place the jack underneath the car in the designated area—usually behind the front wheel or in front of the rear wheel. Consult with your owner’s manual on the proper location to place the jack. Once the jack is in place, raise the car until the flat tire is about four to six inches above the ground. Your tire should be high enough for you to take it off and put on the spare with ease.
Step 5: Remove the Lug Nuts
Once your car is jacked up, remove the lug nuts and place them in a safe location where they won’t get lost. Make sure they don’t roll away! Then, gently pull the flat tire off the car.
Step 6: Install the Spare Tire
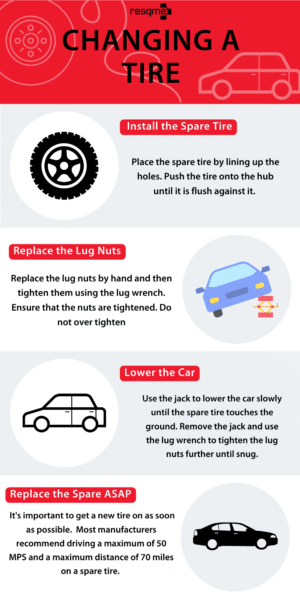
Place the spare tire by lining up the holes. Push the tire onto the hub until it is flush against it.
Step 7: Replace the Lug Nuts
First, replace the lug nuts by hand and then tighten them using the lug wrench. Ensure that the nuts are tight but do not over-tighten. Over-tightening can lead to stripping the lug making it harder to remove in the future.
Step 8: Lower the Car
Use the jack to lower the car slowly until the spare tire touches the ground. Remove the jack and use the lug wrench to tighten the lug nuts further until snug.
Step 9: Verify the Tightness of Lug Nuts
Finally, check the tightness of the lug nuts one last time. Ensure that they are tight enough to hold the wheel in place.
Once the spare is on it is important to get a new tire on as soon as possible. Check your spare tire for details on the recommended speed and distance you can drive on a spare. Most manufacturers recommend driving a maximum of 50 miles per hour and a maximum distance of 70 miles on a spare tire.


